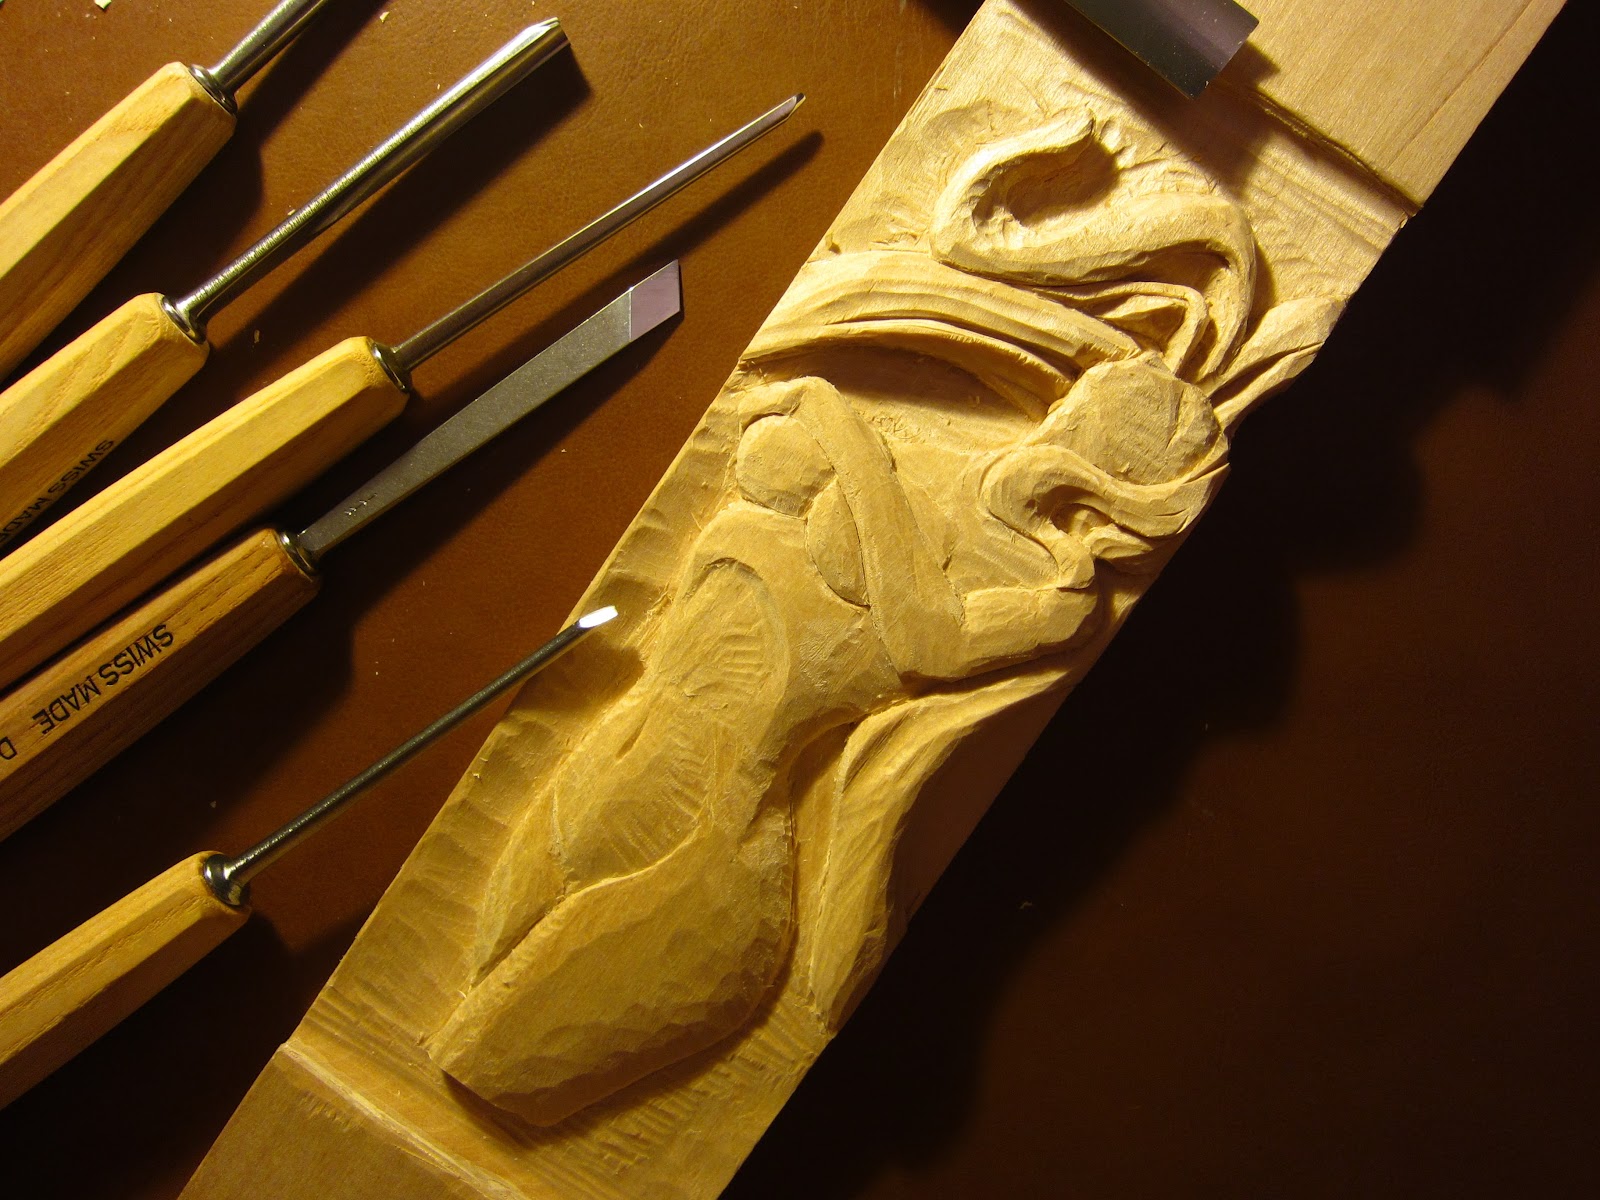
Here are some quick updates. I haven't posted in a few days because I haven't been carving on the guitar body very much. I decided to go ahead and do a practice carving of the woman's body on a scrap piece of bass wood. I shrank the image down and transferred it to the bass wood, and now I'm in the process of carving it 100% by hand using the gouges. It is almost complete, and it didn't turn out too bad so this gives me some confidence I might have a chance to pull this off. I'll post pictures of this scrap carving later when it is finished.
Also, I've been busy buying parts on Ebay. Here are some of the parts I have purchased. I bought a used Mexican Standard Strat neck with upgraded American Standard machine heads (i.e. the tuners). It's a maple body with rosewood fret board. I went with the Mexican Standard neck because after taking some measurements on the body I have, I have found that it was pre-drilled for a Mexican Strat tremolo (more below).
 |
| Genuine Fender Mexican Standard Stratocaster Neck |
I also bought a Mexican Standard Strat tremolo with upgraded block. Most of the tremolo blocks are die cast zinc, but the one I bought has a solid steel block which is supposed to hold more sustain. I will say this...figuring out which tremolo to buy was confusing. There are so many variations depending on what style/year the body is, that I had to do a lot of research to figure out which was the correct one for my body. In the end, what really mattered is the mounting hole spacing. On my body, it is 2 1/16" mounting holes and I also wanted the 2 1/16" saddle spacing. This is a little narrower than the vintage Strats which have 2 7/32" spacing. The narrower spacing allows for a little bit easier play and helps prevent the strings from slipping off the fret wires. I've play both types of strats, and I prefer the 2 1/16" although either would have worked.
 |
| Mexican Standard Strat Tremolo |
I also bought some hardware such as the jack plate and neck plate. Jack plate is standard, and the neck plate is engraved. I may replace this in the future, but for now it'll do.
I'm not sure if I've laid out my long term vision for this guitar yet, so I'll describe what I'd ultimately like to do. My goal is to have all the hardware/trim on this guitar be wooden. There are a lot of vendors that make custom wooden parts and I might make some myself. Parts I'll ultimately replace with wooden parts are:
- Tuning pegs
- Pick Guard (probably will do rosewood or some other dark wood)..I may do a mother of pearl inlay on this as well
- Control knobs (probably will make these myself with a light colored wood like Maple)
- Pickup selector knob (also will make myself...light colored wood)
- Tremolo cavity plate (on back of guitar)