Saturday, July 30, 2011

I can see the finish line...unfortunately it's so far away

Well I haven't posted updates in a few weeks because I haven't been working on the guitar much at all.  I was out of town or busy the last few weekends and working a lot during the week days so I haven't felt like carving.  However, today I didn't have any commitments so I spent a long time working on the guitar.  By a long time, I mean like 6 hours straight...no breaks.  I was in the zone.  So here are some updated pics of the progress.  As far as I can tell, the main carving is now complete.  There will definitely be some touch-up work to be done, but I will do that along the way as I begin the sanding.  I know there are a couple of areas that don't look that great, but I'm getting to the point where I'm ready to be finished carving this thing and start playing it :)  I learned a lot about carving, and hopefully the next one will turn out even better.  But all-in-all, not to shabby for my first attempt.

There are two more things I want to do before I start sanding this bad boy.  First, I want to soften the border on the edge of the guitar with a radius so it is more comfortable to play and also so the edge won't chip.  Second, I want to increase the depth of some of the relieved flat areas on the carving.  I want to break up the low flat areas with curved surfaces so it flows a little better and has a more organic look.  I'm not looking forward to sanding this thing at all.  It's going to be a slow and messy process, and unfortunately since the guitar has the poly-coat on the uncarved areas, I'm going to have to sand the entire thing, not just the carved areas.

Ok now the good stuff:

Almost finished carving

Saturday, July 16, 2011

Slow and Steady

I've been spending an hour here, an hour there working on the guitar...basically whenever I have a little bit of free time.  It's super slow going, and a little frustrating but now I think it is starting to take shape so that is kind encouraging.  I've made a few mistakes, but nothing major and I've been able to recover pretty well after a bad cut or slip of the gouge.  I'm getting more comfortable with the tools and I have a much better understanding of how the wood will react depending on which direction I make my cuts from.  Here are some updated pics:
From a few days ago...started shaping the lower body
This is from today (07/16/2011)

put on the pick guard & bridge just to see how it looks

Tuesday, July 5, 2011

Let the games begin

I spent a few hours yesterday starting the hard part of this project: carving the details of the body.  I'm taking it nice and slow, mostly with my #5 20mm gouge in small shallow cuts.  I figure if I'm screwing up, I'll be doing it slowly enough that I can see it and take measures to correct it.  It is definitely a slow process and I can now see that this is going to take several weeks to do it properly, especially if I can only spend a few hours a night on it.  Here are some pics of the small amount of progress so far.  You can see I'm starting with the leg in the foreground, slowly shaping it and rounding it off.  My plan is to start to angle the left side of the body back towards the background, and then I'll begin adding detail and depth to the individual features.  At least that's the plan...for now.  I also pulled out the Dremel and cut around the jack plate on the right side and then cleaned it up with the hand chisels.


Sunday, July 3, 2011

Slow progress

Well it's been at least two weeks since I even touched the guitar.  I've been too busy on the weekends and just too tired during the week to work on it.  However, this weekend I got some free time so decided to work on removing the poly-coat finish over the area of the body that I'll be carving.  This was a pain to remove and took about 3 hours just to do the hair/body.  I used my gouges to basically shave the 1mm thick layer of poly-coat (or whatever finish is on this thing).  I could have sanded it, but I don't have a power sander and doing it by hand would have been terrible and messy.  Plus, I'm having to re-draw each section as I remove the top finish layer since that is where the outlines are.  Not fun.  But now that this chore is finished, I can finally start to do some actual carving.  Once I get finished carving the entire thing, I'll use a power sander to remove the poly-coat from the non-cosmetic surfaces such as underneath the pick guard and the back of the guitar.  I want to have raw wood exposed on all exterior surfaces before I begin applying my own finish, otherwise it will be uneven and maybe even discolored wherever the poly-coat is.

Here are some pics of the progress from today:
Removing the poly-coat by hand
Darker areas still have the poly-coat
A

Tuesday, June 14, 2011

1st Practice Carving

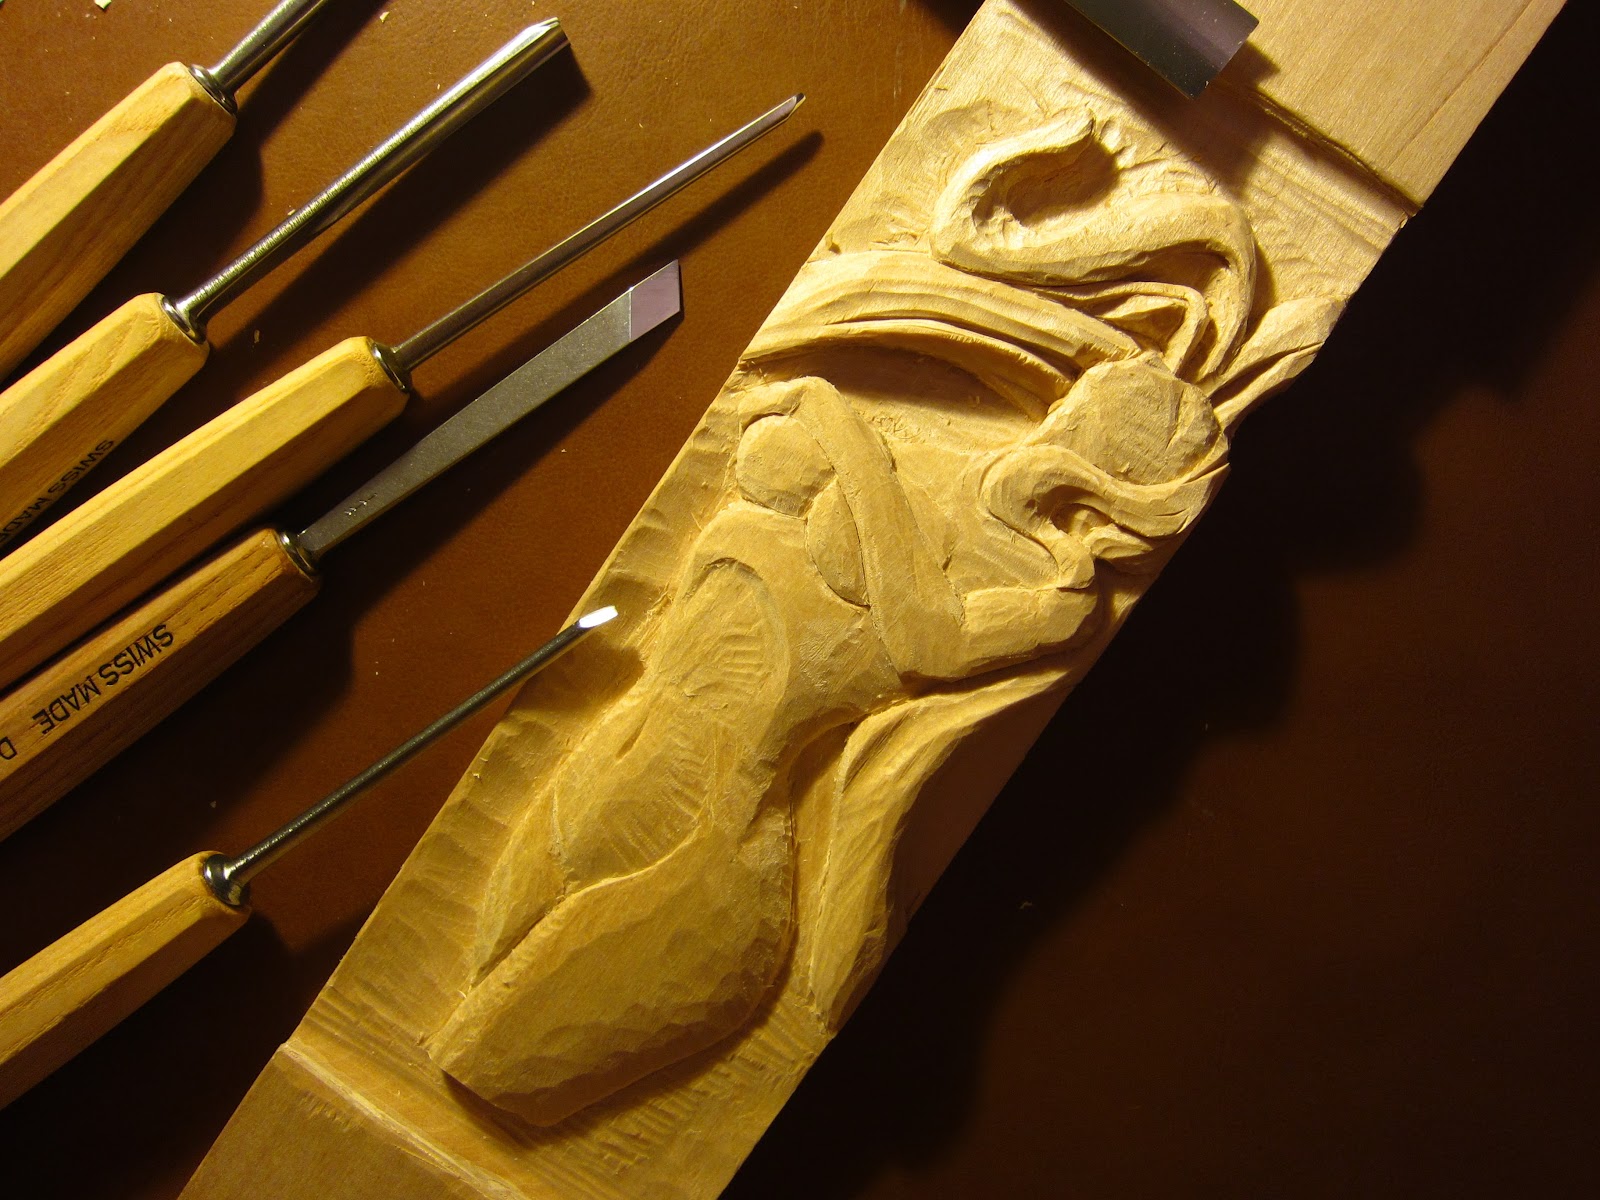
As promised, here are some pics of the practice carving I did.  It turned out OK in my opinion...not great but I think I have enough confidence to fix some of the mistakes on the real thing.  I didn't sand it or anything so it still has some rough edges and splinters.

June 14 Updates

Here are some quick updates.  I haven't posted in a few days because I haven't been carving on the guitar body very much.  I decided to go ahead and do a practice carving of the woman's body on a scrap piece of bass wood.  I shrank the image down and transferred it to the bass wood, and now I'm in the process of carving it 100% by hand using the gouges.  It is almost complete, and it didn't turn out too bad so this gives me some confidence I might have a chance to pull this off.  I'll post pictures of this scrap carving later when it is finished.

Also, I've been busy buying parts on Ebay.  Here are some of the parts I have purchased.  I bought a used Mexican Standard Strat neck with upgraded American Standard machine heads (i.e. the tuners).  It's a maple body with rosewood fret board.  I went with the Mexican Standard neck because after taking some measurements on the body I have, I have found that it was pre-drilled for a Mexican Strat tremolo (more below).
Genuine Fender Mexican Standard Stratocaster Neck
I also bought a Mexican Standard Strat tremolo with upgraded block.  Most of the tremolo blocks are die cast zinc, but the one I bought has a solid steel block which is supposed to hold more sustain.  I will say this...figuring out which tremolo to buy was confusing.  There are so many variations depending on what style/year the body is, that I had to do a lot of research to figure out which was the correct one for my body.  In the end, what really mattered is the mounting hole spacing.  On my body, it is 2 1/16" mounting holes and I also wanted the 2 1/16" saddle spacing.  This is a little narrower than the vintage Strats which have 2 7/32" spacing.  The narrower spacing allows for a little bit easier play and helps prevent the strings from slipping off the fret wires.  I've play both types of strats, and I prefer the 2 1/16" although either would have worked.
Mexican Standard Strat Tremolo
I also bought some hardware such as the jack plate and neck plate.  Jack plate is standard, and the neck plate is engraved.  I may replace this in the future, but for now it'll do.
I'm not sure if I've laid out my long term vision for this guitar yet, so I'll describe what I'd ultimately like to do. My goal is to have all the hardware/trim on this guitar be wooden.  There are a lot of vendors that make custom wooden parts and I might make some myself.  Parts I'll ultimately replace with wooden parts are:

  • Tuning pegs
  • Pick Guard (probably will do rosewood or some other dark wood)..I may do a mother of pearl inlay on this as well
  • Control knobs (probably will make these myself with a light colored wood like Maple)
  • Pickup selector knob (also will make myself...light colored wood)
  • Tremolo cavity plate (on back of guitar)

Tuesday, June 7, 2011

A Hairy Situation..

I worked on hand carving the hair a little more today.  It's going pretty well so far.  I did get a little too carried away on one part of the hair and I'm not real excited about how it looks...almost too much going on in that little area.  Oh well...chalk it up to learning.  I'm sure once I start sanding everything down smooth the look will change a lot, so I'm not inclined to try to fix it at the moment.  I'm just going to press on.  Overall I don't think it looks too bad.
I don't like the little area right in the middle of the picture
I do like the way this turned out